- Home
- Products
- Articles
- 4 Axis Robot Arm
- A Stepper Motor Driven Ferris Wheel (Version 3 Compiler required)
- An Update on Keith Cameron's Lift
- Automatic Tram Layout
- Bug in Increment Word Instruction
- Compiler Version Releases
- Industrial Arc Welding Robot
- MotorVating the Speed Play Robot
- Reproducing the Electronic Set Models
- Sensor Expansion Port Pinout Diagram
- Sheet 1 - Hardware from NZ 240 volt wall socket to...
- Sheet 3 Meccano Car model controlled by the MotorVator and Director.
- Sheet 2 - Hardware from Motor(s) to MotorVator®.
- User Input Options
- Version 3 Manual Released
- 16/32 Bit Maths Routines
- Build Your Own Photo Sensor
- Controlling Stepper Motors
- Magnetic reed switch as a non contact sensor
- MeccCompiler III Tutorial
- More Inputs and/or Motors: Port Replication
- More Inputs: the Sensor Expansion Port
- Square Root Function
- Tutorial: Rev Counter
- Use of the opto switch or opto interrupter as a ro...
- FAQ
MotorVating the Speed Play Robot
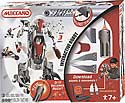
Within the New Meccano Speed Play range is the 9901 Interactive Robot.

Meccano have provided an intelligent controller that can control three motors, and provide a pre-programmed (by Meccano) sequence of movements and sounds.
Unfortunately, the Meccano is lacking the basic requirement to allow "intelligent control": it has no inputs.
The Speed Play Robot model lends itself well to adaption using the MotorVator.
This article explains how the Meccano Motors are wired and what you can do to connect your MotorVator.
There are two sorts of Motor provided by Meccano
1. A new version of the standard 3/6V Motor. The modification is to remove the fixed power cord (and battery box switch) and replace it with a standard 1mm DC power plug socket.
2. The Powered "Screwdriver" has been modified so it now has a 1mm and a 2.5mm DC Power socket.

These can be easily modified for MotorVator Control.
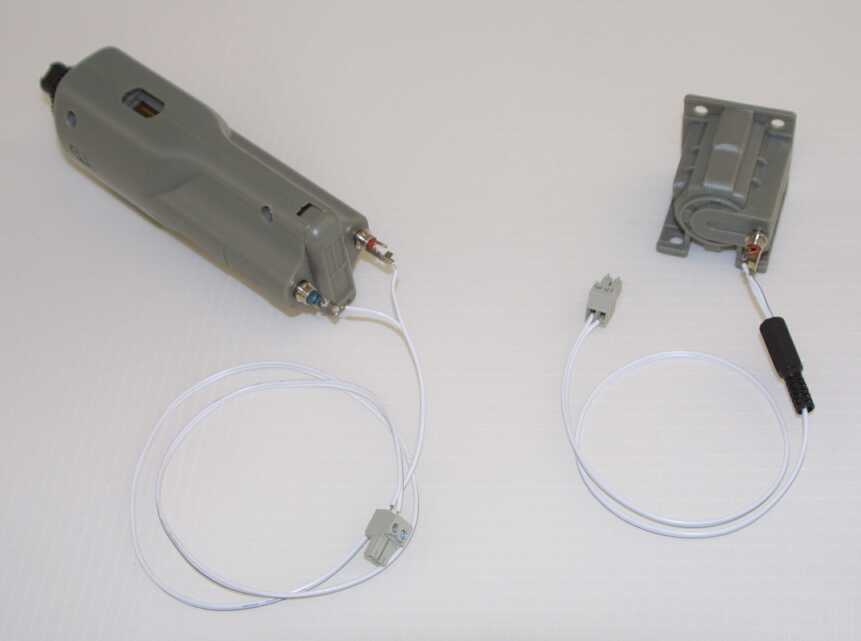
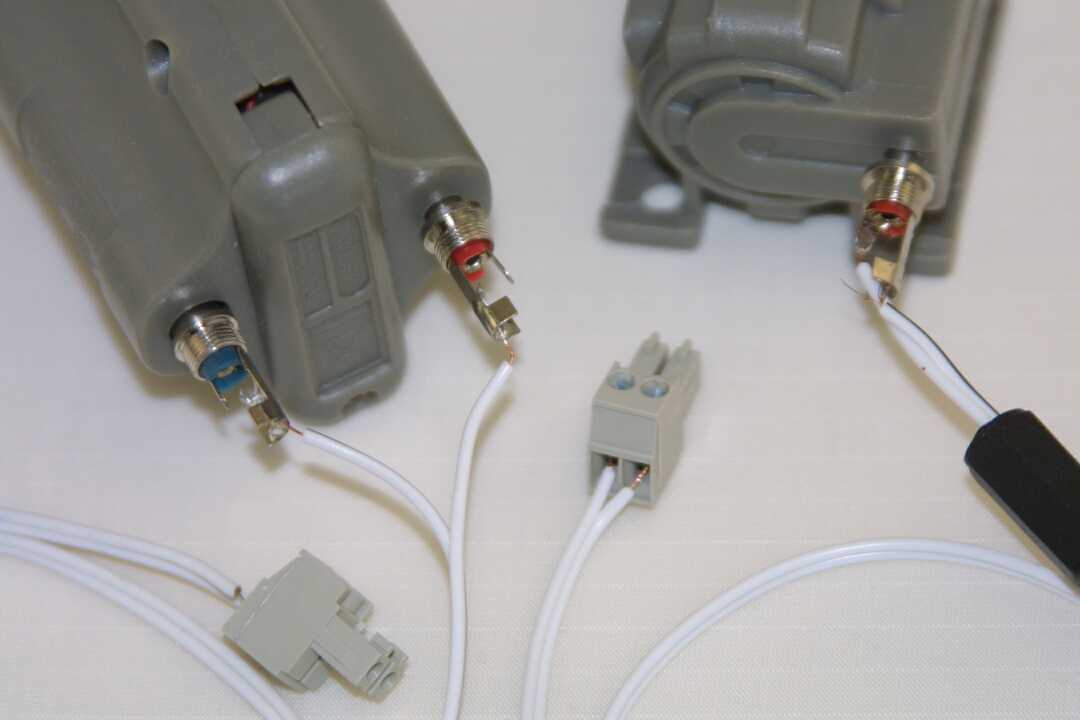
1. The 3/6V Meccano motor simply needs a 2-core lead wired with a 1mm DC Plug at one end and the Meccanisms Two way plug at the other, then into the MotorVator Motor Output Port. It doesn't matter which way round the wires go.
2. The Power Screwdriver needs a slightly more complicated cable, using both the 1mm and the 2.5mm plugs. Wire only the Ring (outer) tab of the plugs, and take these connections into a single MotorVator Motor Output Port.

Note that for MotorVator control, you don't need the 3 x AAA batteries in the PowerScrewdriver.
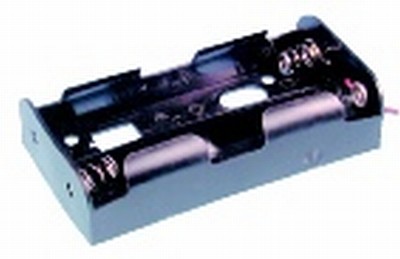
You will of course need a suitable power supply for your robot. We suggest a simple battery holder, e.g.
Note that the Meccano motors will want 6 Volts, and this is the bare minimum on which to run the MotorVator. As the batteries run down, then MotorVator might stop! To avoid this, connect two separate battery boxes - one (with D Cells or high amperage NiCAD pack - e.g. from a radio control car) into Power Input AB (to run the motors) and a second (e.g. using 6 x AA cells to give 9V) into the Action Input (to power the MotorVator).
